Before the plant sale I took out the plants that I wanted to keep.
The week after the plant sale was beautiful - sunny, 75F - perfect spring/summer.
So, silly me I planted all my plants.
Two days after I planted everything, we had freezing temps. For. The. Whole. Next. Week.
I covered everything, but the peppers aren't looking so great.
These pictures will probably be the peppers memorial service. Remember those beautiful peppers? Oh, yes they were just starting to live, so sad....taken in the prime of life.

This is how I plant my indeterminate tomatoes.

Dig a nice deep trench and amend with kelp (fertilizer) and crushed crab shells (calcium).
Put the tomato to bed in the trench and pull the soil covers up to its leafy chin.

Water deeply.

This is how close I plant my tomatoes.
Remember I grow my tomatoes up not out - so it works.

These are the covered beds I made - I'll show you how in my next post.
In these beds I planted the peppers -poor frosted peppers :(

In this bed the cabbage and broccoli are nestled. On the far right of the covered bed I have Golden shallots.
The bed in front of that has peas and onions.

More tomatoes.

More tomatoes!

The dearly departed peppers.
Really I am sad about this!

Broccoli and cabbage.
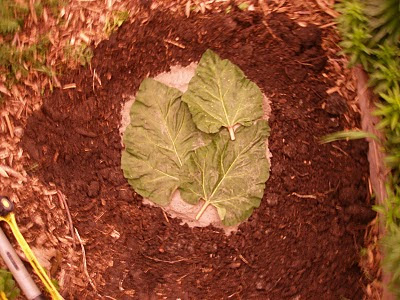
 First dig a shallow hole.
 Mix up some concrete.
 Place your leaves on top of the cement.
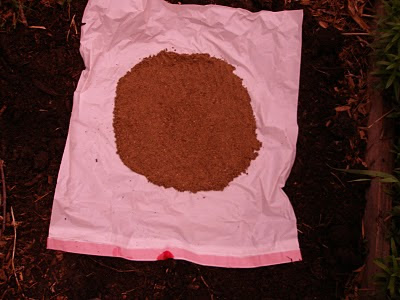
 Put a plastic bag on top of the rhubarb leaves and then cover it with a layer of damp sand.


